

Building a trellis for climbing plants can make your outdoor area look better. It adds elegance and makes your garden more organized. A good trellis supports plants, keeps things tidy, and looks great.
Our simple guide shows you how to make a strong DIY garden trellis in just 5 steps. It doesn’t matter if you’re new to gardening or have experience. Our clear instructions will help you make a beautiful trellis that improves your outdoor space.
Why Your Garden Needs a DIY Garden Trellis
Gardeners looking to make the most of their space will find a trellis essential. A DIY garden trellis is a simple yet effective solution. It supports climbing plants, boosting both your garden’s look and function.
Benefits of Using Trellises for Climbing Plants
Climbing plants like roses, clematis, and peas love trellises. They give these plants the support they need to grow upwards. This maximizes space and promotes healthy growth. Trellises also add a decorative touch, making your garden a feast for the eyes.
Types of Plants That Thrive on Trellises
Many plants do well on trellises, including flowering vines, vegetables, and herbs. Here’s a table showing some favorites:
| Plant Type | Examples | Benefits |
|---|---|---|
| Flowering Vines | Roses, Clematis | Aesthetic appeal, fragrance |
| Vegetables | Peas, Beans | Easy to grow, productive |
| Herbs | Climbing nasturtiums | Edible flowers, pest control |
Essential Materials and Tools for Your Trellis Project
Before starting your trellis project, gather all the needed materials and tools. Knowing what you need is key to a successful DIY garden trellis.
Recommended Building Materials
The material you choose affects your garden’s look and your budget. Wood and metal are top picks for their strength and flexibility. Wooden trellises bring a natural feel, while metal ones offer a modern look.
Required Tools List
You’ll need basic tools to build your trellis. This includes a saw, a drill, and a hammer. Having the right tools makes the job easier and faster.
Budget Considerations
Think about your budget when planning your trellis. Material costs can differ a lot. Using recycled materials can save money and help the environment.
Planning Your Perfect Trellis Design
The success of a garden trellis depends on its design and placement. A good trellis supports climbing plants and beautifies your garden.
Determining the Right Size and Location
Think about the space for your trellis before you begin. Measure the area and pick a size that fits your plants. Make sure the spot gets enough sunlight for your plants.
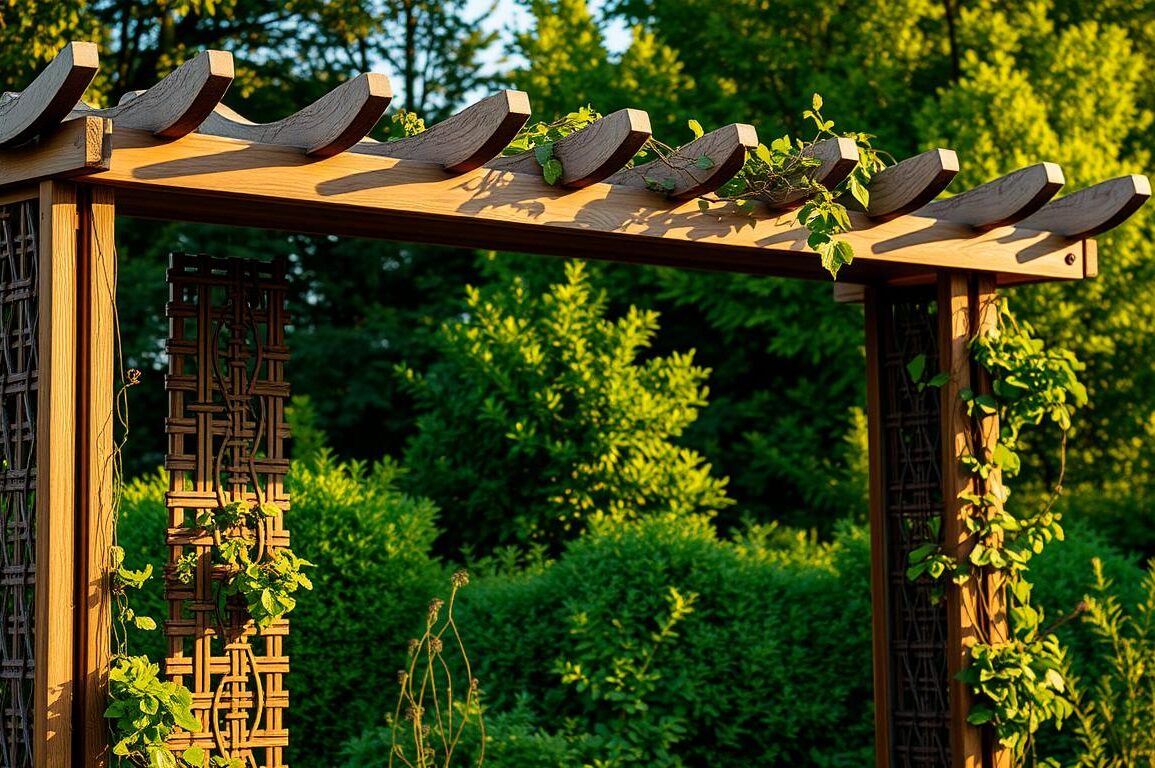
Popular Trellis Styles and Designs
There are many trellis designs to pick from, like arched, lattice, and wall-mounted ones. Look for ideas online or in gardening books. Choose a design that matches your garden’s style and the plants you’re growing.
Sketching Your Plan
After picking a design, draw out your plan. Note the dimensions and any special features, like a gate or pattern. This will help you build your DIY trellis plans correctly.
Step 1: Preparing Your Materials and Workspace
Starting your DIY garden trellis needs careful prep of materials and workspace. This step makes sure your project goes well and safely.
Measuring and Cutting Materials
Getting the right measurements is key for a strong trellis. First, measure your materials based on your design. Then, cut them with the right tools. Doing this right saves you from mistakes and waste.

Setting Up a Safe Work Area
A safe area is vital for building your trellis. Clear your workspace, make sure it’s well-lit, and keep tools organized. This setup helps avoid accidents and boosts your work speed.
Safety Precautions to Consider
Always put safety first when using tools and materials. Wear gloves and safety glasses, and keep loose clothes back. Being aware of your surroundings and tools helps prevent injuries.
By preparing well, you’re ready for a fun and rewarding DIY garden trellis project.
Step 2: Assembling the Basic Trellis Structure
Building a sturdy trellis starts with its basic structure. This step needs careful attention.
Creating a Strong Frame
Begin by putting together the sides and top of your trellis. Use sturdy joints to make sure it can hold the weight of climbing plants.
Securing Joints for Durability
It’s important to secure the joints well for your trellis’s durability. Choose screws or nails that fit your material. Ensure the joints are tight and can handle different weather.
Adding Cross Supports and Grid Pattern
Adding cross supports and a grid pattern makes your trellis look better. It also gives plants more support. The grid helps plants climb better.
| Material | Joint Type | Durability |
|---|---|---|
| Wood | Screws | High |
| Metal | Welding | Very High |
| Bamboo | Ties | Medium |
Step 3: Finishing and Weatherproofing Your DIY Garden Trellis
Finishing and weatherproofing are key to making your trellis last. A well-finished trellis makes your garden look better and lasts longer.
Sanding Rough Edges
Begin by sanding any rough spots or splinters on your trellis. This is important for looks and safety. Smooth surfaces are nicer and safer.


Applying Weather-Resistant Treatments
Next, apply a weather-resistant treatment to keep your trellis safe from rain, sun, and more. Use a waterproof sealant or wood preservative, based on your trellis material. This step is crucial for weatherproofing your DIY garden trellis and keeping it strong.
Decorative Finishing Options
Lastly, think about adding a decorative finish to your trellis. You can paint or stain it to fit your garden’s style. This makes your trellis look better and adds a personal touch.
By doing these steps, you can make a beautiful and lasting DIY garden trellis. It will support your climbing plants for many years.
Steps 4 and 5: Installation and Plant Training
After building your trellis, it’s time for the next steps: installing it and training your plants. Installing it right ensures it stays stable. Training your plants helps them use their new support well.
Proper Installation Techniques
First, pick a spot that gets the right sunlight for your plants. Dig a hole a foot deep. Put the trellis in it and fill with soil. Make sure it’s level and stable.
Securing the trellis is key to stand up to wind and weather. Use concrete or a strong anchor to keep it in place.
Securing Against Wind and Weather
To keep your trellis safe from bad weather, anchor it to the ground or a wall. This stops it from falling over.
| Securing Method | Benefits |
|---|---|
| Ground Anchoring | Prevents trellis from shifting or toppling |
| Wall Anchoring | Provides additional stability, especially in windy areas |
Training Plants to Climb Your New Trellis
Start by gently twining your plants’ stems around the trellis. Use soft ties if needed. As they grow, they’ll keep climbing, using their new support fully.
Creating a Beautiful Outdoor Space with Your DIY Garden Trellis
Building a DIY garden trellis is a rewarding project. It can make your outdoor space better and a haven for climbing plants. By following the steps in this article, you can make a sturdy and stylish trellis. This trellis will support your plants and make your garden more interesting.
With your new trellis, your garden will look lush and green. Think about trying out different garden trellis ideas to make your outdoor space even better. A trellis is key for growing flowering vines or climbing vegetables in your garden.
Now, you can relax and enjoy your DIY garden trellis project. Your garden will look more beautiful, and your plants will be healthier and more productive. Try out different trellis designs to find the perfect one for your garden.